Soil health means how well the ground supports the worms, roots, and microbes that help plants grow. If children don’t know what living soil does, they see a garden bed as plain dirt waiting for seeds. But the habit of caring for soil doesn’t grow from reading about it, which is why soil experiments for kids work so well.
A child who pulls a handful of worms from one small square or watches water vanish through sand won’t forget it. After working with young growers at Truck Farm Omaha, we’ve understood that digging, shaking, and squeezing soil makes kids care about the ground.
Here, we cover why kids should learn about soil health early and share five low-cost tests, plus the supplies to run them for a full month. You’ll also get a clear idea of how to read your results and sort sandy, clay, and loamy soil. Let’s begin with the reason soil deserves a spot in your child’s first science lessons.
Why Should Soil Health Be Part of a Child’s First Garden Science Lessons?
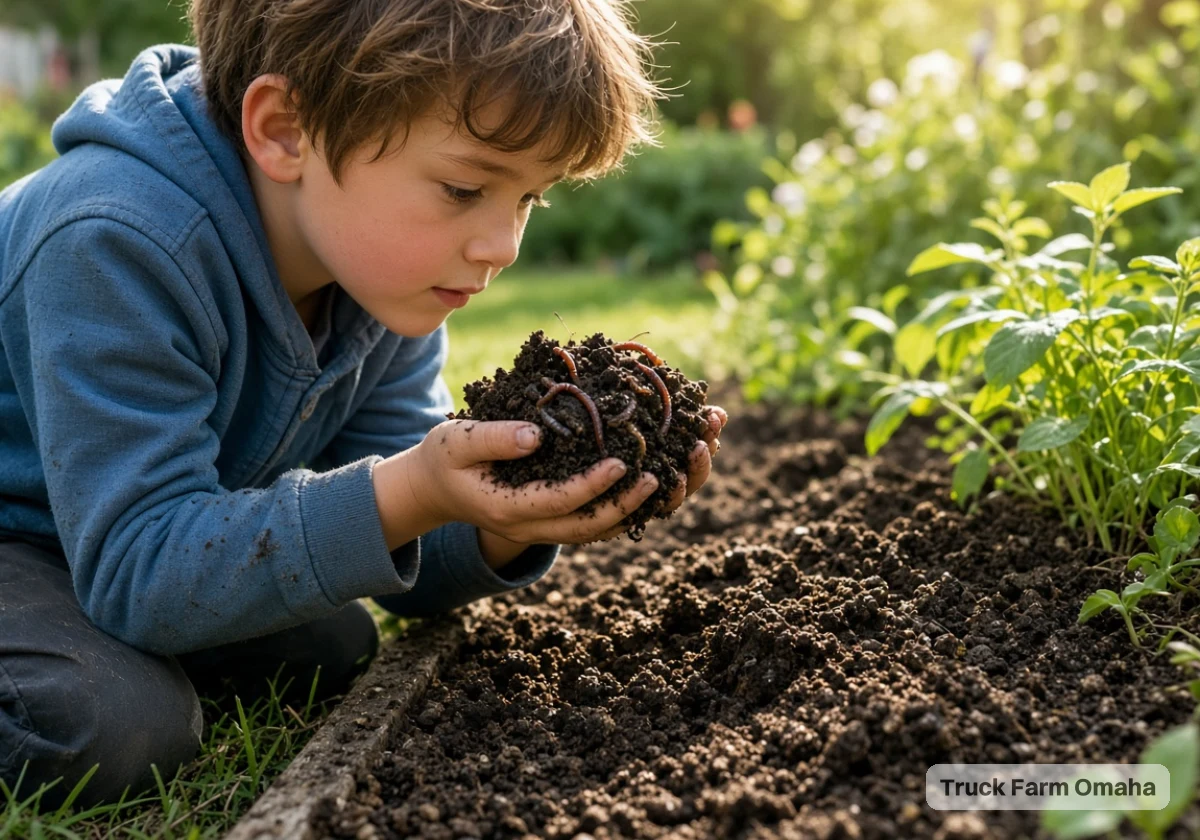
Soil health belongs in a child’s first garden science lessons because healthy soil is where every plant, meal, and worm starts. Children who skip that step see a garden as seeds plus water, so they can’t explain why one bed thrives while the next one struggles.
The University of Minnesota Extension on living soil describes soil as “a living ecosystem, a large community of living organisms linked together through nutrient cycles and energy flows.” That definition gives children a life science frame for every test they’ll run later. Through that lens, kids stop seeing worms, fungi, and bacteria as random creatures in the dirt and start seeing them as workers with jobs.
Once kids see soil as alive, the link to food gets much easier to explain. For example, a carrot feeds on nutrients that soil organisms freed up from dead leaves and roots. As a result, a weak soil community means a smaller harvest on their plate.
In our youth gardening sessions around Omaha, kids who start with soil ask sharper questions about plants later on (and they rarely mind the mud on their sleeves). You’ll likely see the same shift at your own kitchen table. That’s why a soil lesson makes the best first step before any seeds go in.
Running Five Soil Experiments Kids Can Set Up in a Yard or Classroom
A jar, a shovel, and a cup of water are enough to make a seven-year-old feel like a scientist. Like most hands-on garden projects to do with kids, these tests work just as well in a backyard bed as in a classroom planter.
Below, we’ve explained five soil experiments for kids, each one taking under an hour to set up.
1. The Jar Shake Test for Sand, Silt, and Clay Layers
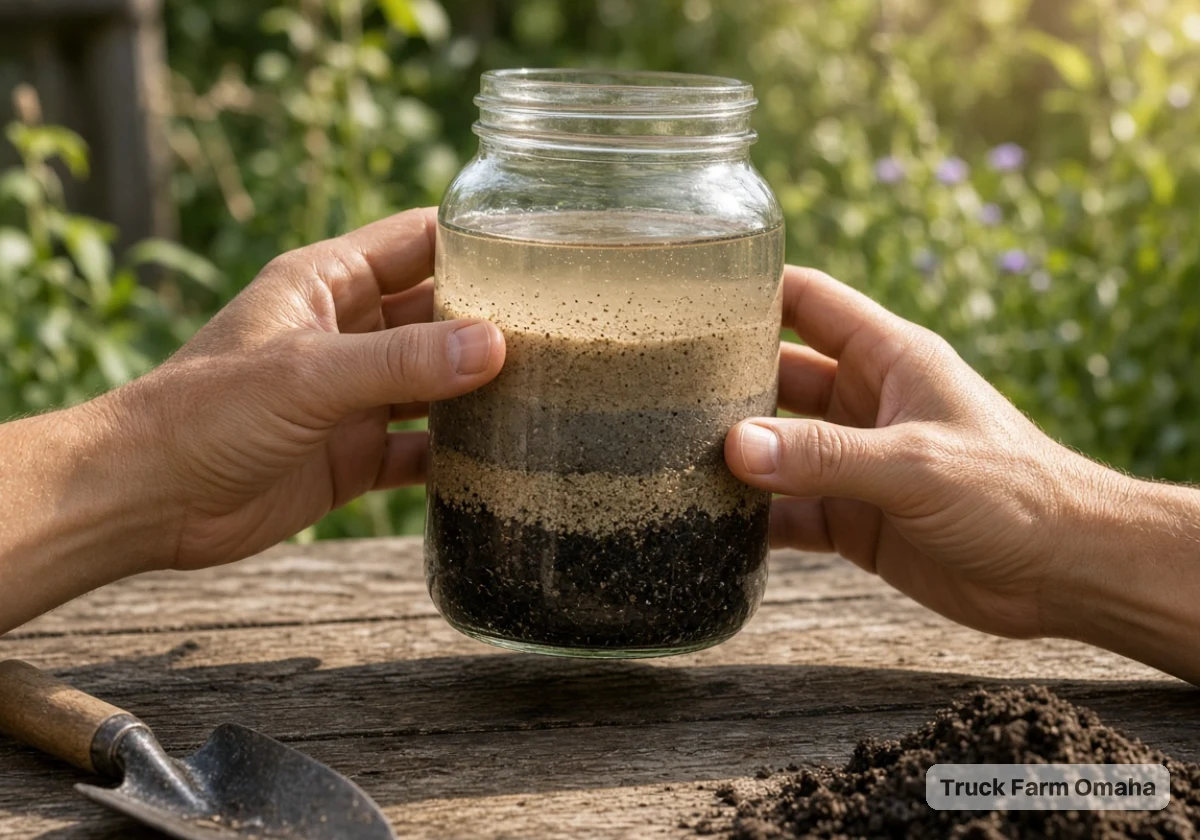
Fill a clear jar one-third full with soil, add water almost to the top, and shake it hard. Then leave the jar somewhere it won’t get bumped.
From there, sand drops first, silt settles next, and clay keeps the water cloudy the longest. Once the water clears, the thickness of each layer shows the percentages of sand, silt, and clay in your soil. According to the Clemson Extension jar test, those percentages reveal your soil texture, so it pays to measure each layer carefully.
Children can trace each layer’s top edge on the glass with a marker, which makes careful measuring much easier. A ruler turns those marked bands into numbers they can compare across samples.
2. Counting Worms and Bugs in a Square of Garden Soil
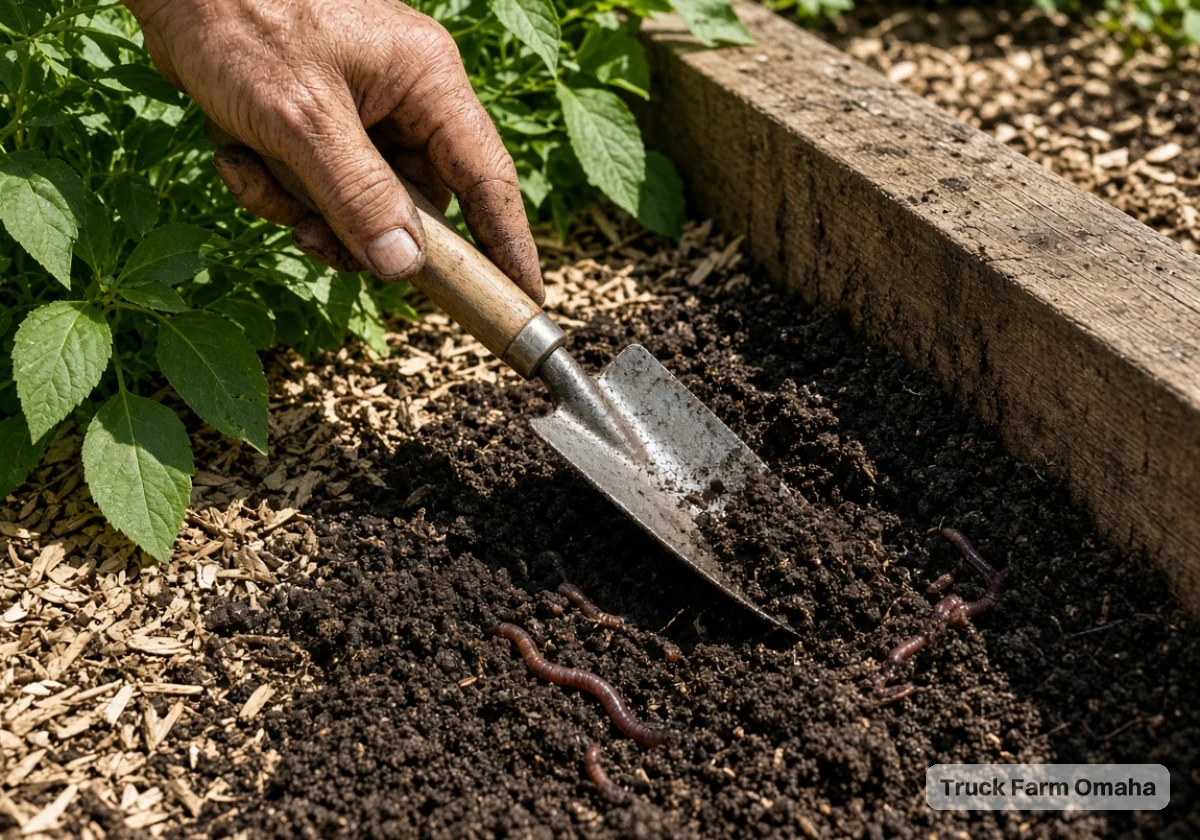
Mark a one-foot square with string, dig down a shovel’s depth, and spread the soil on a tarp. Young helpers then sort and count every worm, beetle, and grub they find (and gently return every creature to the bed afterward).
That final tally tells you a lot, since more living things usually point to healthier soil. Worms and insects only stay where they find food, air, and moisture, so a busy square signals a well-fed bed.
After that, repeat the count beside a path or in a patch of lawn. Comparing the two squares shows children how foot traffic and bare ground affect soil life.
3. Timing: How Fast Water Drains Through Different Soil Samples
Start by cutting the bottoms off three plastic bottles, lining each neck with a coffee filter, and flipping them into cups. Then pack each bottle with a different soil sample and pour in the same amount of water.
Now, kids time how long each sample keeps dripping into its cup. This way, they see for themselves that sand drains quickly, clay holds water much longer, and loam lands in between.
This result explains why many plants rot in soggy clay beds. Ask students to predict the winner before pouring, since a wrong guess sticks longer than a right one.
4. Testing Soil pH With Red Cabbage Juice
Simmer chopped red cabbage in water, strain it, and let the purple juice cool. An adult should handle the stove step, and the kitchen will smell of cabbage for a while. Once cooled, the juice reacts to acids and bases, so it reveals where your soil falls on the pH scale from zero to 14.
Next, stir a spoon of soil into a cup of the juice and wait for the color to settle. Pink means acidic soil, blue or green means alkaline, and purple sits close to neutral. Since seven marks neutral and most vegetables grow best between six and seven, a purple or faintly pink cup is good news for planting.
From there, kids can test soil from three spots around the yard and compare colors. If one bed turns sharply pink or green, plan a proper soil test before planting there. Either way, you’ll know the test worked when you can clearly name each cup’s color against a cup of plain juice kept beside it.
5. Burying a Cotton Strip to Watch Soil Life Break It Down
Bury a strip of plain cotton fabric about six inches deep and mark the spot with a stake. Don’t forget to keep a matching strip indoors for comparison.
A few weeks later, dig it up and lay it beside the clean strip. Since microbes and insects feed on cotton, each hole and thin patch you spot shows soil life at work.
For a fair test, bury strips in two different beds. A shredded strip means busy soil, while a nearly whole one tells you that bed needs compost.
Reading the Results: What Sandy, Clay, and Loamy Soil Tell Young Scientists
The best moment in any soil testing classroom activity is when students compare their jars and spot the differences themselves. That comparison only sticks if kids have a simple key for what each result means. Once the experiments are finished, the table below helps children match what they saw to one of three soil types and a health rating.
| Soil Type | Jar and Drain Results | Life and Cotton Strip | Health Rating | What to Do Next |
|---|---|---|---|---|
| Sandy | Thick sand layer, water rushes through | Few worms, strip mostly whole | Low to fair | Mix in compost so the soil holds water |
| Clay | Cloudy water, slow drip or pooling | Some worms, patchy strip | Fair | Add compost and keep off wet beds |
| Loamy | Even layers, steady drip | Many worms, strip full of holes | Good | Cover with mulch and keep planting |
For judging health, the worm count and cotton strip usually say more than the jar does. Soil texture takes years to change, yet soil life responds within a season. That’s why you should have kids pick one fix from the last column and try it before the next planting.
Parents and Teachers Need Only Basic Tools and Free Resources to Get Started
Most families already own everything needed for a full month of soil health activities for children. Kitchen jars, a garden trowel, and the stopwatch on a phone cover four of the five tests above.
The higher cost is time, so spread the experiments across several weeks instead of cramming them into one afternoon. When we work with young growers, one test per week keeps kids asking when the next one starts (the cotton strip needs a few weeks underground anyway). A weekly rhythm also gives you time to talk through each result before adding new information.
Beyond the supplies, your local extension office often shares free soil guides and lesson ideas for school use. Teachers can pair those guides with the experiments here to build a short garden science unit without buying a kit.
If you’re planning soil science at home or at school, the supplies below cover every experiment above:
- Three or four clear glass jars with lids, one per soil sample
- A trowel, a tarp, and string for marking squares
- Plastic bottles, coffee filters, and a measuring cup for equal pours
- One red cabbage and a few white cups that show color clearly
- Strips from an old cotton T-shirt and a notebook for results
Pack these into one bin before the first lesson so every experiment can start the minute kids are ready. Store the bin by the back door, and clean up after each test becomes part of the routine.
Let Your Kids Get Their Hands Dirty This Weekend
Children understand soil health fastest when simple experiments let them see, touch, and measure what living soil does. That’s why we’ve explained five cheap tests above, so your kids can find that proof with their own hands.
So pick one experiment for this weekend and let your kids choose the spot to dig. Keep a shared notebook, and each result will build toward a full picture of your yard.
Truck Farm Omaha offers youth gardening guidance for families and schools across Omaha. Contact the Truck Farm Omaha team to plan a soil lesson and give your young scientists a garden worth testing.